Showing posts with label mariesegal. Show all posts

Monday, April 16, 2018

Clay and Paint (Cernit) company sends me tutorials to share. I have been a little overwhelmed with my life and learning another thing just seemed too much for me at the time!
I got in to my blogs and everything had drastically changed in my blog world. All the things that I had gotten so good at had completely changed.
My brain just said no!
Well I am trying again, if you are willing to bear with me, I will get this stuff again!
Anyway here I go!
Enjoy!
Marie


Friday, June 2, 2017

The Earrings I made from the last tutorial post

These are the earrings I made from the the last tutorial post- the little translucent headpin flowers. 
This is the link
https://mariesegal.blogspot.com/2017/05/little-translucent-head-pin-flowers-you.html

I love the way these turned out. You can find them in my Etsy store
https://www.etsy.com/listing/520751614/spring-flowers-dangle-earring-with?ref=shop_home_active_1


Thursday, May 25, 2017

Little translucent head pin flowers
You will need:
2-3" headpins gold or silver
Cernit Translucent clay- I used Emerald, Violet, Turquoise, Ruby, and Amber
Square cutters- 3/16", 5/8", and 3/4"
Scotch Quick dry adhesive
Cernit can be purchased at 
http://www.clayfactory.net

#Cernit
#mariesegal

Little Head pin flowers

Put a tiny drop of the glue on the head of the pin and let it dry. The bottle has been re-labeled I will place a picture of the new bottle below


This is the new labeled bottle

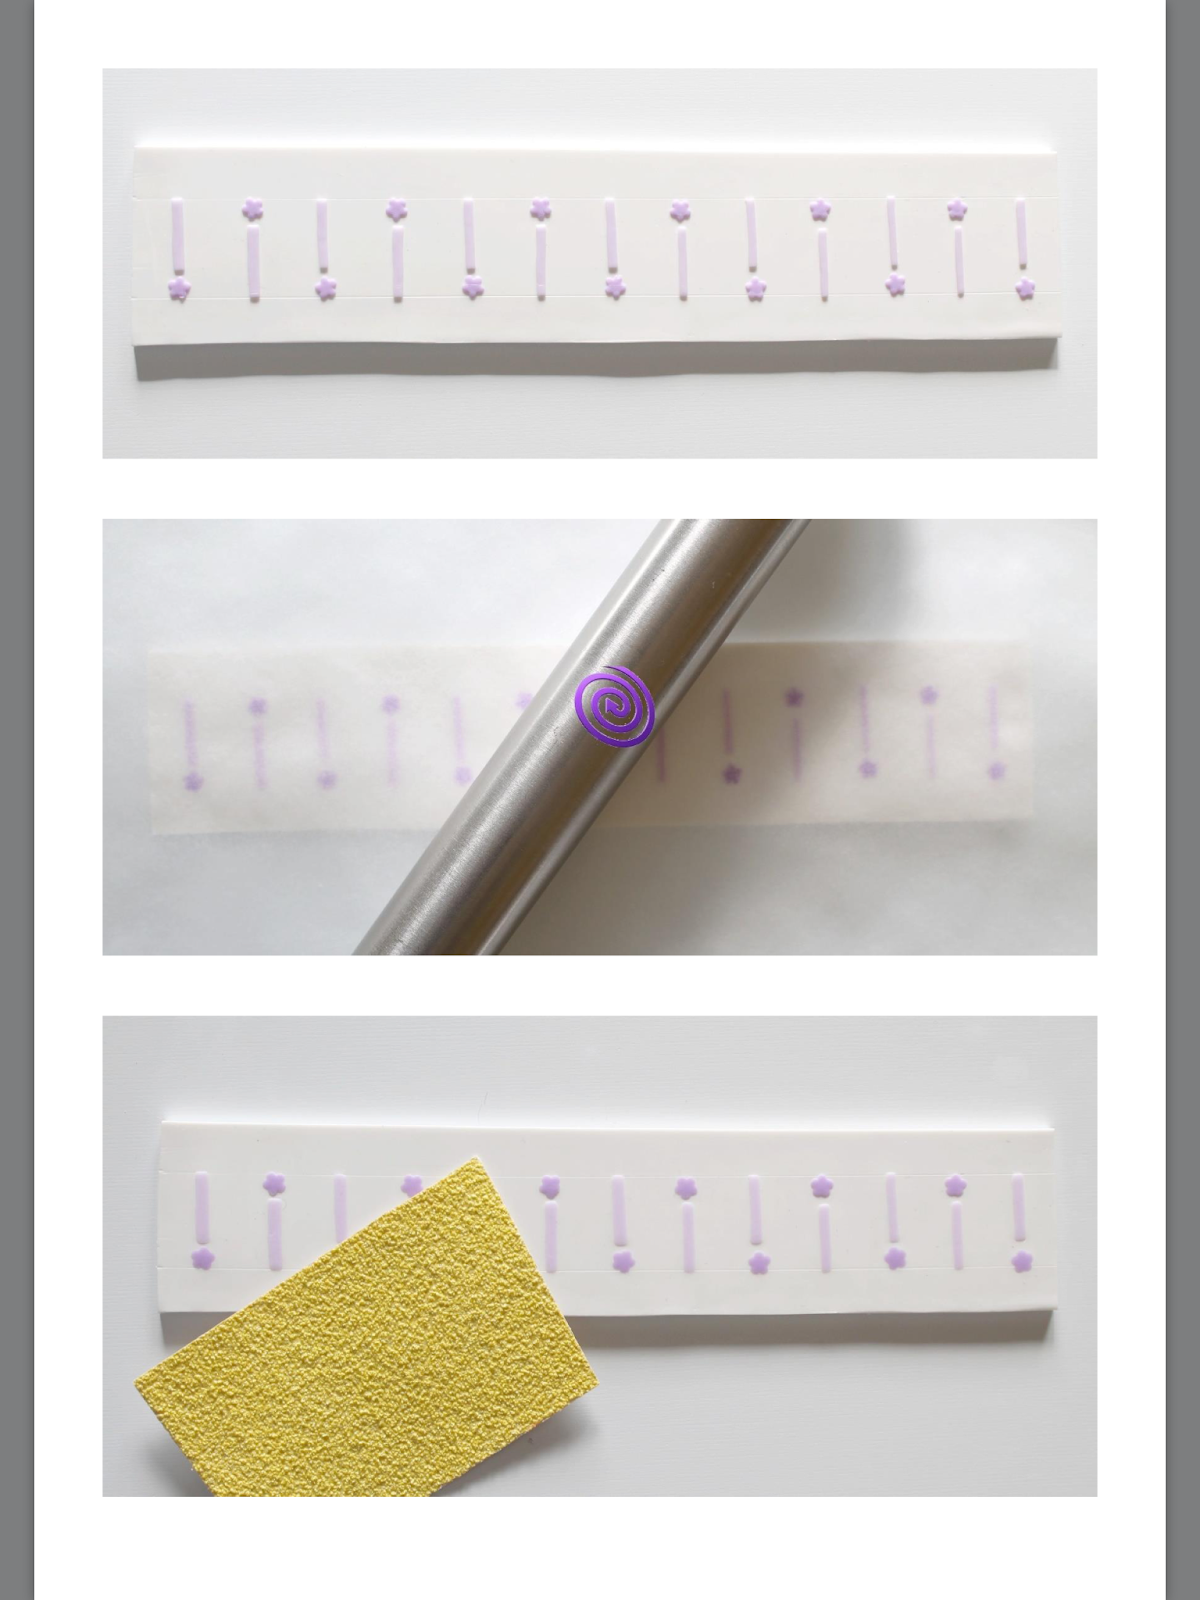
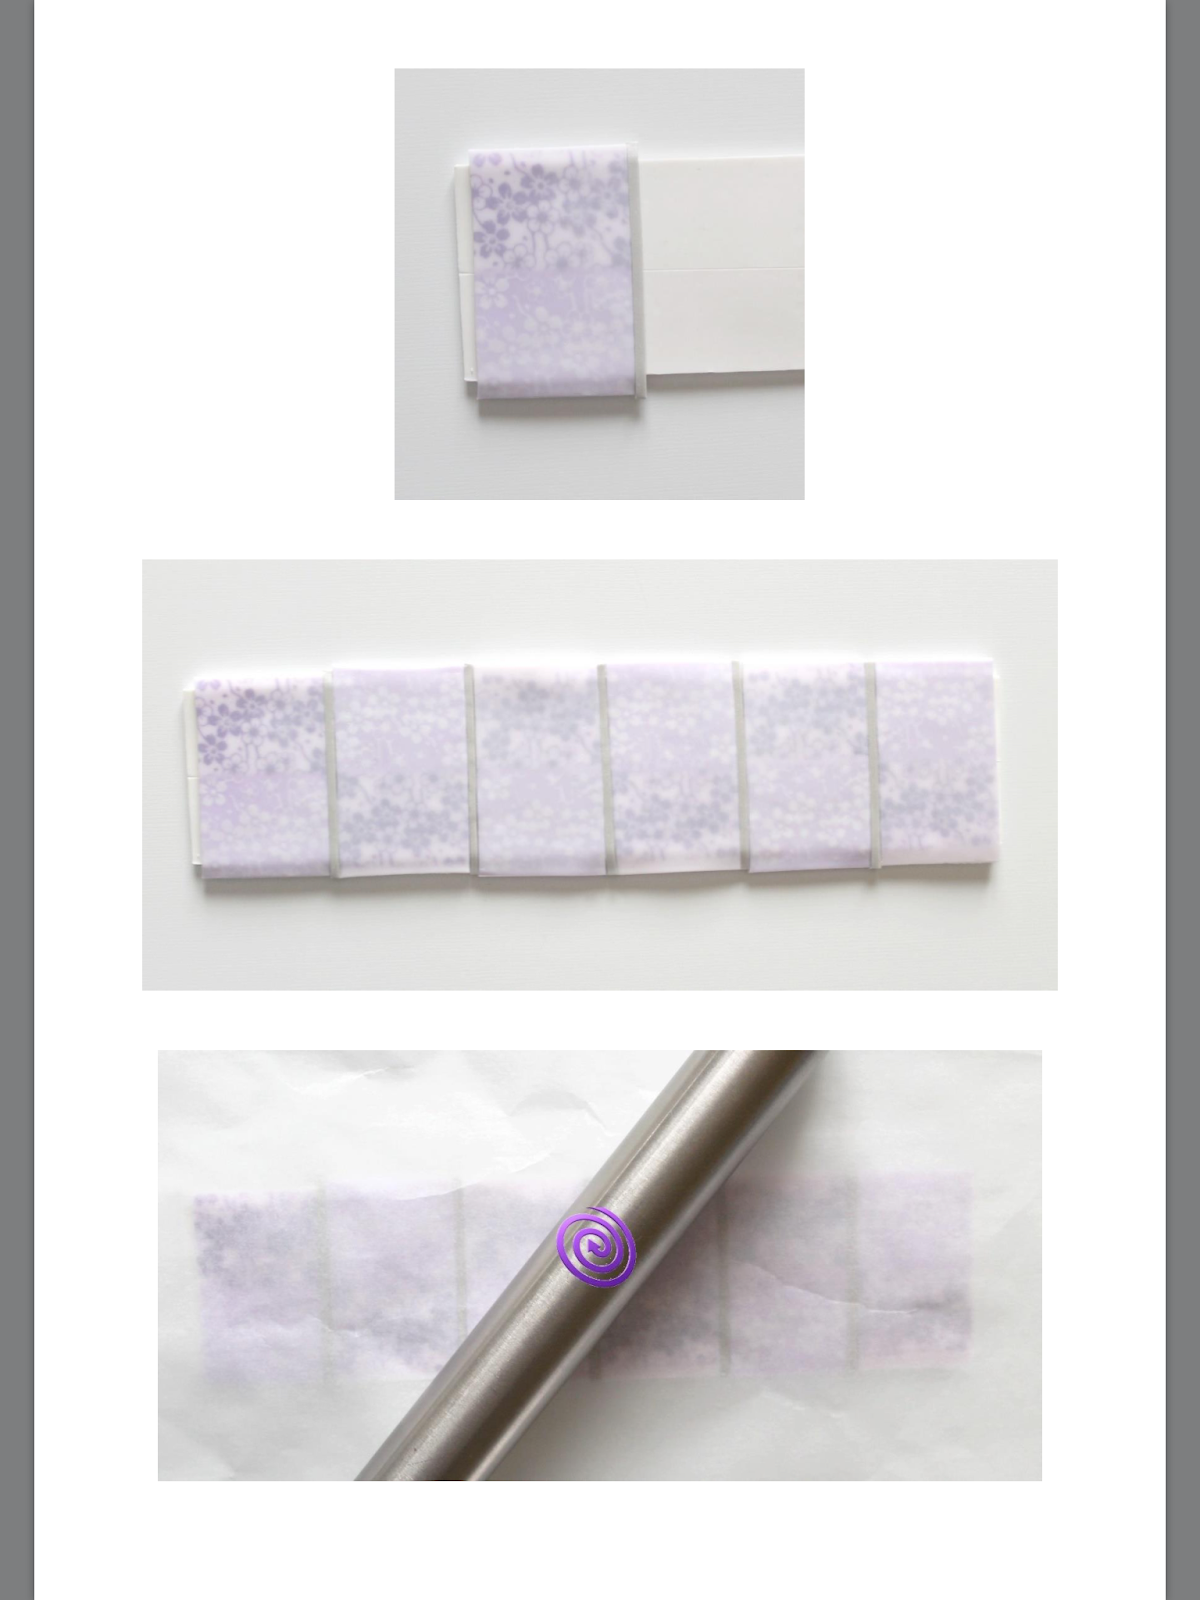
Condition and roll out clay on the 3rd or 4th thickest setting in your pasta machine. Using the 3/4" square cutter, cut out as many squares of the color as you want to make flowers. I used 2" Skinner blends for my flowers. Emerald for the leaf squares which is the 5/8" square. And all the centers will be the new 3/16" square cutters that we are now carrying. Push the head pin through the center of the flower square.
You can find all of these square cutters at any of our etsy stores ask for special order.
Or at http://www.clayfactory.net/kempertools/pages/pattern-cutters-kemper-tools.htm
On this page you will find links to all of our shops and my blog
http://www.mariesegal.com/Shops.html


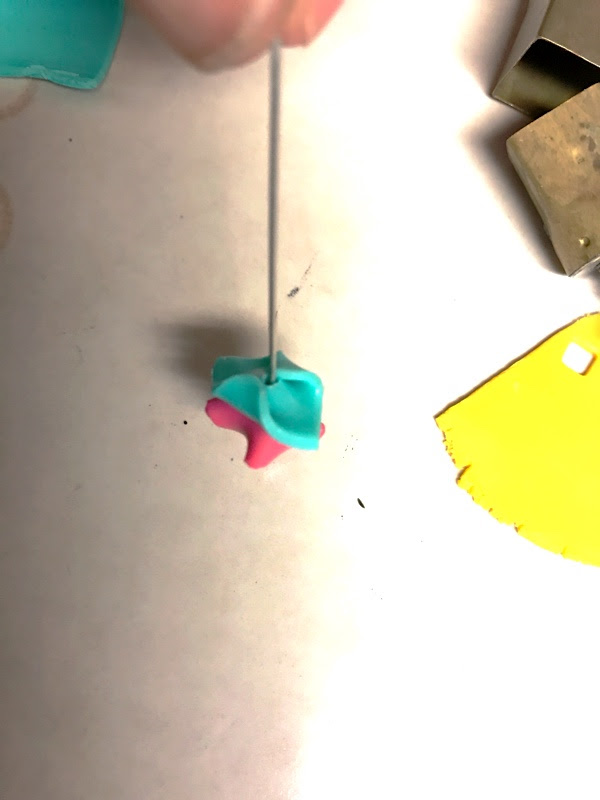
Add a 3/16" Amber colored square to the top of the head pin with the dried glue dot and press the flower square and the center square around the head pin top.
Here is the link to all of our shops.
http://www.mariesegal.com/Shops.html


Pull all the corners together in the center by doing the left and the right side corners first and then top bottom corners. Tack the lightly together with out smashing together.

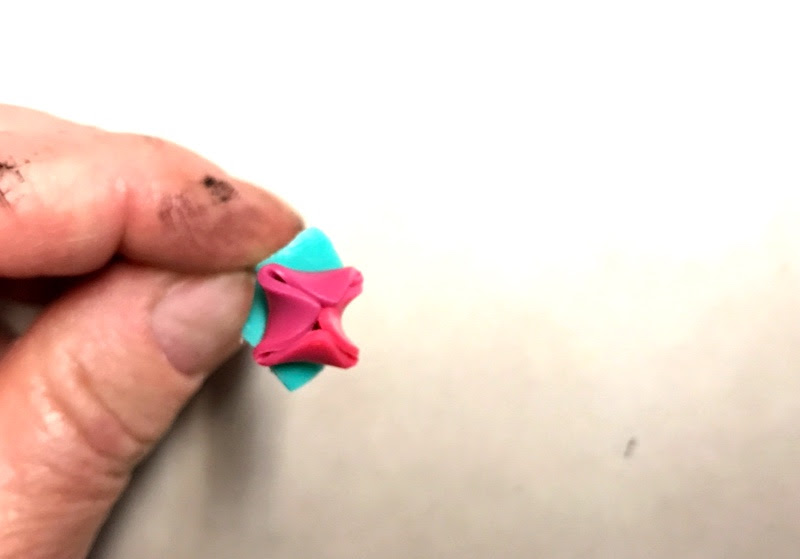
Slide the 5/8" Emerald leaf square on to the end of the head pin and slide up against the flower bud. Tack the leaf and the bud together in the centers of each the leaf square and the center of the bud bottom.


Like so.


Curl under two opposite corners to the center of the leaf square and tack to the clay lightly with out smashing the curl.

Curled leaves have rolled look like a curl of chocolate.


Here is the completed bud. Lay on a piece of card sock in your tray and bake in a oven at 275 degrees Fahrenheit for 35 minutes. I also tint the whole tray with aluminum foil. I bake in a regular electric oven for 50 minutes. I plunge them into an ice water bath hot out of the oven until they are cool. The translucent will be more translucent if quenched in ice water.
Have fun!
#Cernit

Thursday, May 11, 2017

A Blast from the past Jewelry Crafts 1997

There is something about cleaning out your studio thoroughly! The things you find can be surprising.
I found a large box back in a corner, it had been sealed from a Bead and Button show in 1997, it was similar to a time capsule of bead work from before 1997. Lots of beads.
I also found this article that was written about the same time in Jewelry Crafts magazine. A very fun day all in all.
Princesses have castles, I still don't have one!
Memories, I have many! Welcome to my studio time capsule!


Tuesday, August 23, 2016

Translucents- Christmas Reef

I love this little piece.
It is Chihuly in polymer clay for me!
I admire the work of this man so much, the play on light through the glass and the clear colors that flow in his pieces.
Look here:
Something so peaceful and glorious about his stuff.
Made from Sunshine and Sand and human artist, very simple things combining for effect.
One of these things alone is not what the three are together, this is creation.
Christmas Reef
I am back playing with Translucent intensely for the 3rd time since I have started in polymer clay in 1978. I am loving every moment of it!
I am so glad I decided to walk this path again and I am loving where I am going. I am wondering why I ever put it down.
This is actually a teaching sample. It shows different applications of the exact same cane.
Have a great week and be the change you wish to see in the world.
Marie


Christmas Reef 2016 Copyright Marie Segal